
Upload Reference Data
Add New Reference Data
Tip - Create at least one record through the Aqilla browser interface as this will provide a template for adding further records through the Add-in.
Insert reference data to Excel
To create (for example) new customer data in an Aqilla instance:
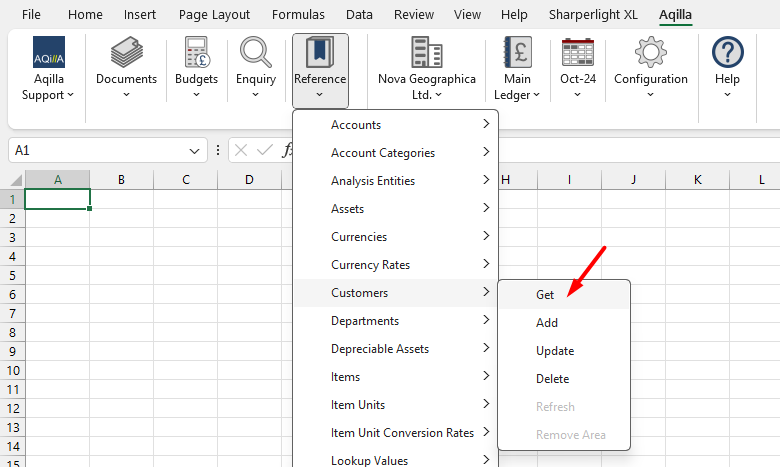
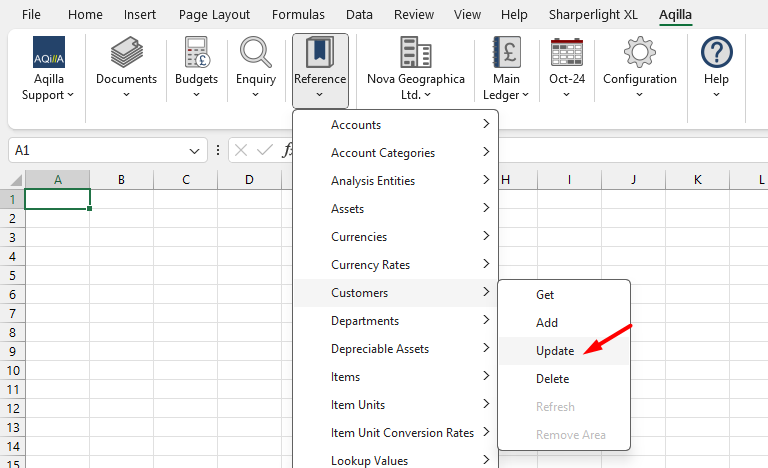
Use the Aqilla Ribbon > Go to References > Under Customers click on GET
Under References > use GET in the menu to pull data from Aqilla to Excel.
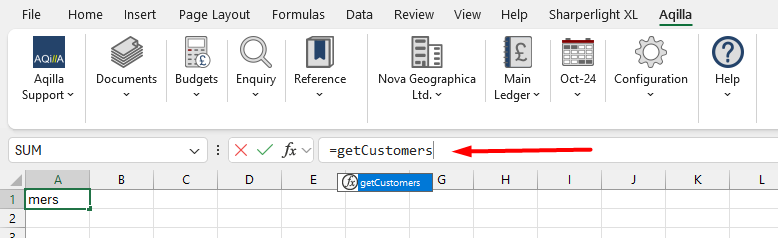
You can also add reference data manually by using the functions.
For customers, use =getCustomers() function as described in the previous section. Enter the data to the worksheet beneath the last displayed record, lining up the data with the existing data.
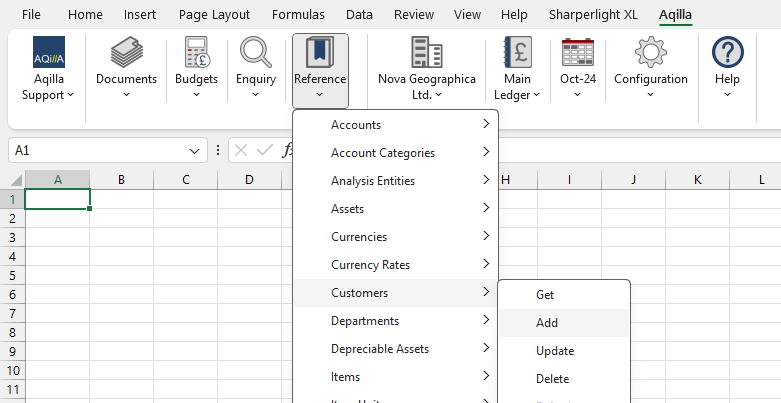
When you are ready to apply the new data, select all the new data colu
When you are ready to apply the new data, select all the new data columns and rows (ensuring that any blank columns are also selected) and use the Add-in menu option References > Customers > Add.
If the data has been entered correctly, the new customers will appear at the bottom of the existing list. The original data used to add the new customers will be left displayed at the bottom of the worksheet. Since any records in error are not added, you should check that no errors have been displayed against any of the additions, particularly if the number of records that are being created is large.
If you try to add some records with good data and some with bad data, the good data records will be imported but the bad data records will not - in the following example a customer record had been rejected because if references a non-existent debtor account.

Edit and Amend Reference Data
To edit existing reference data in an Aqilla instance:
Add the reference data, as per the previous Adding reference data to Excel
Some functions allow you to narrow it down by filtering.
The worksheet will be populated with all the data from the Aqilla instance to which you have connected.
You will note that the first two columns have checkboxes Update and Delete; the third column (Status) is reserved for any error messages.
The column after Status is normally hidden and contains the internal identification of the record. Do not change this.
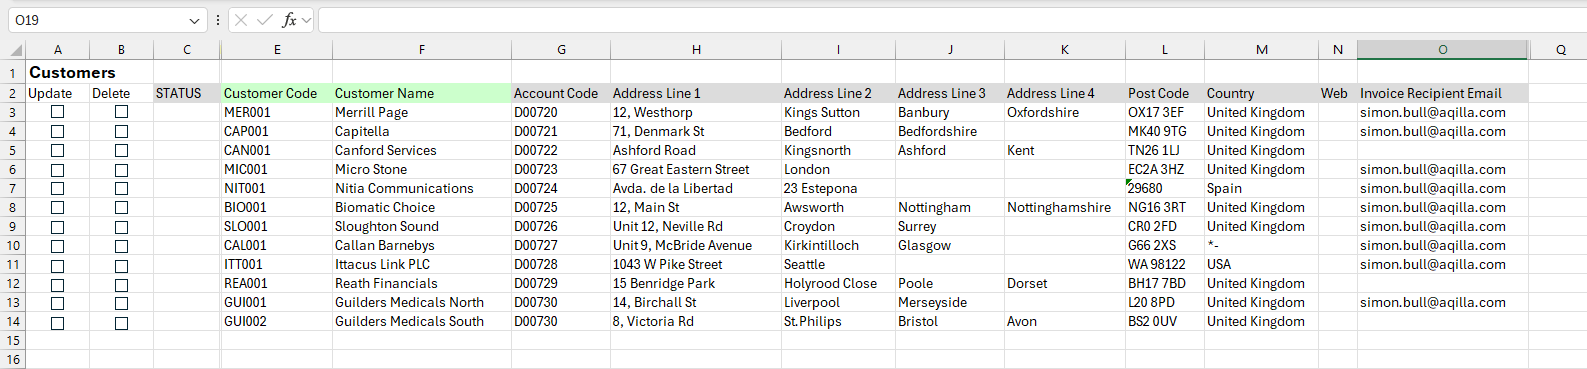
To amend any data simply edit the relevant cells. The Update checkbox will be automatically checked against any row that has changed.
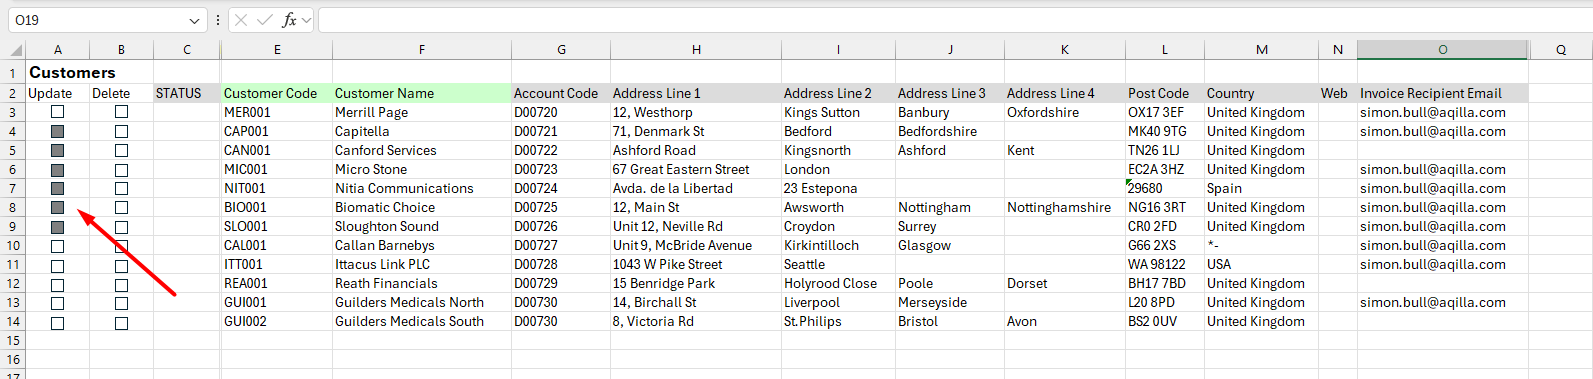
Once you have finished making the changes to the data, use the Add-in menu Customer Service > Update Customers to update the server.
If any errors are detected, a message will be displayed in the Status column otherwise the Update checkbox will be cleared.

Deleting Reference Data
To delete (for example) existing customer data in an Aqilla instance:
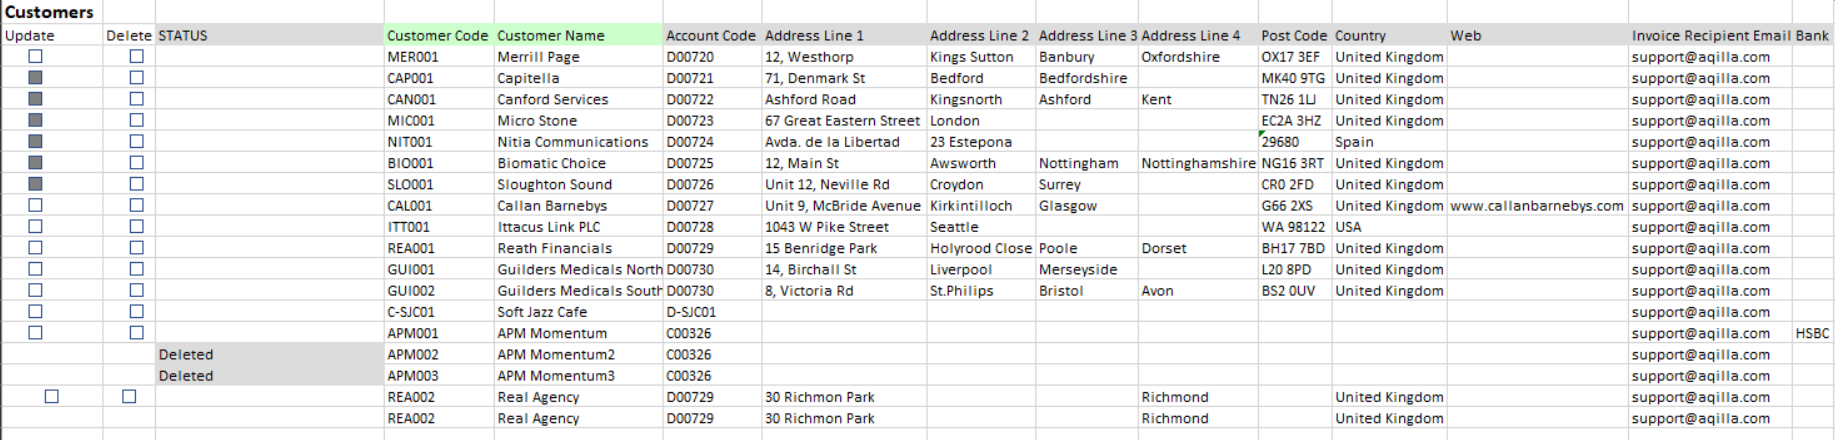
Check the Delete checkbox and use the Add-in menu option Customer Service > Delete Customers.
Any customers that have been deleted are marked in the Status column as Deleted otherwise an error message will be displayed explaining why the customer cannot be deleted.
Update Reference Data
To refresh (for example) existing customer data from the server:
Select the Add-in menu option Refresh Functions > Customer Service> Customer Data. Any changes made in the worksheet will be overwritten with latest data from the server.
If you want to remove (for example) customer data from the current worksheet, select the Add-in menu option Customer Service > Remove Customers Section.
Batched Updates
Three parameters have been added to the reference data get functions to facilitate the maintenance of very large data volumes.
In order to maintain reasonable processing times of batch data, the Excel add-in limits the maximum number of reference data that can be downloaded and processed to 5000.
Where more data exists, it is now possible to specify from what point in the dataset to extract data.
For instance, if you have more than 5,000 customers, you can specify to extract up to 5000 customers starting after the 5000th customer.
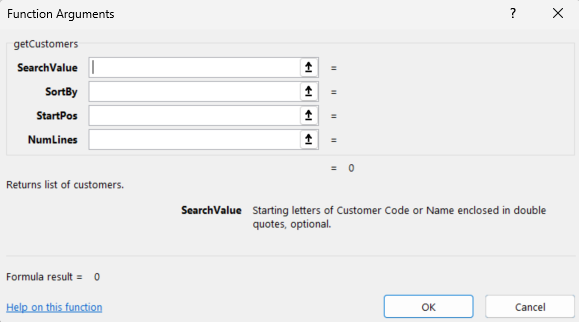
By default the data is retrieved in the sequence that the data was created. The parameter “Sort By” provides options to sort by typically code or name, depending on the data type.
The parameter “Search Value” is unchanged from previous versions of the add-in, providing additional options to filter data starting by the characters entered.
For instance, entering “AB” in the Customer “Search Value” parameter would return all customers with codes or names commencing with “AB”.
Note that all parameters are optional. This feature is available when the latest optional upgrade of the Aqilla Excel is installed.