
How to add an existing asset to the Fixed Assets Register
This page summarises how you add existing assets to the Fixed Assets Register (FAR). It is assumed the assets and the associated depreciation has been recorded on the Balance Sheet. It is recommended to use a Miscellaneous Document to reverse the Balance Sheet values and re-enter them, linking the transactions to the Fixed Asset Register.
It is essential to set the posting period correctly before recording the revised accumulated depreciation.
Create the Asset in the FAR: See the following Article for details: https://help.aqilla.com/helphome/fixed-assets-register#Create-New-Fixed-Asset
Reverse the Balance Sheet Value: Remove the existing asset value and accumulated depreciation from the Balance Sheet.
Re-enter the Asset Cost: Enter the original cost of the asset linking the cost to the depreciable asset.
Set the Posting Period: Ensure the posting period for the accumulated depreciation matches the period you reversed the depreciation.
Record Accumulated Depreciation: Input the accumulated depreciation to, linking it to the depreciable asset
Excel Add-In
The Excel Add-In may be used to enter Fixed Assets, Miscellaneous Documents, or Purchase Invoices.
Fixed Asset Data
To create Fixed Assets in an Aqilla instance:
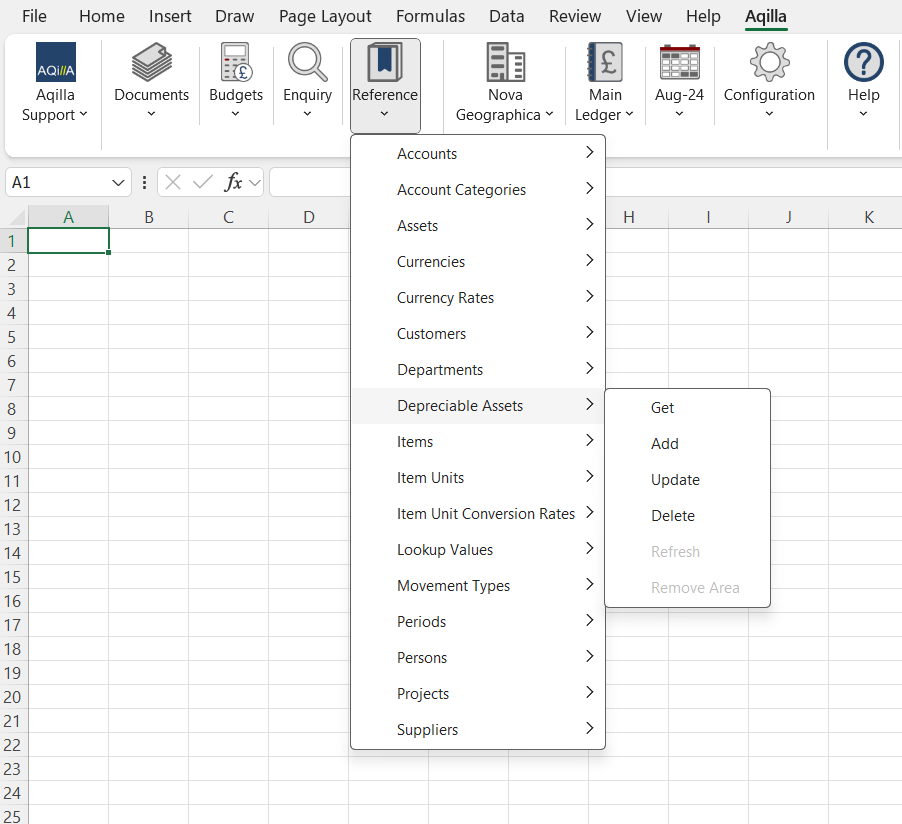
Use the Aqilla Ribbon > Go to References > Depreciable Assets click GET in the menu to pull data from Aqilla to Excel.
Details on how to add Reference Data via the Excel Add-in may be found here: https://help.aqilla.com/helphome/upload-reference-data
Miscellaneous Documents
Uploading a new document starts with the document column labels. Select a cell in the worksheet (usually A:1) then select the Add-in menu option Documents > Miscellaneous > Get Labels to add the column labels
After selecting Get Labels the add-in will populate the worksheet with the document headers and details.
Details on how to add Documents via the Excel Add-in may be found here: https://help.aqilla.com/helphome/upload-new-documents

If the Depreciable Asset label does not appear, you may need to contact Support or your Consultant to configure this for you.