
Navigation
Navigating around Aqilla and entering data is simple and consistent. This section describes methods that are common across the application.
You can navigate through these help pages using:
the table of contents in the panel to the left or
embedded hyperlinks or next and back buttons or
the next and back buttons in your browser
Login
To log in to an Aqilla instance enter the following URL into your browser...
.. where your-instance-name is the name of the instance you wish to access.
In Aqilla terminology, an instance is an accounting database that may include data for one or more legal entities.

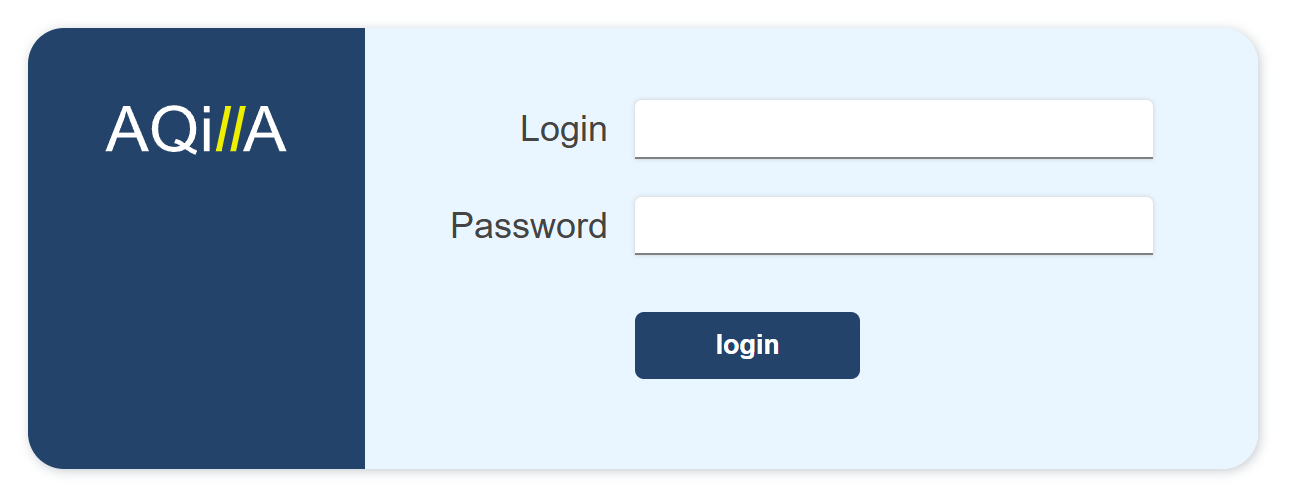
You will be challenged to enter a login (user name) and a password
First time you login, use the details provided by your Aqilla administrator. You will be able to change your password later.
User Names | Passwords |
|---|---|
User names can contain letters, numbers, spaces and special characters | Passwords can contain letters, numbers, spaces and special characters |
User names are not case sensitive | Passwords are case sensitive |
User names must be unique within an instance | Passwords must be at least eight characters long |
Passwords must contain at least one capital letter | |
Passwords must contain at least one number |
How to change your password
It is also possible to Sign in with Google:
For more details about this authentication method, see Articles > Google Authentication.
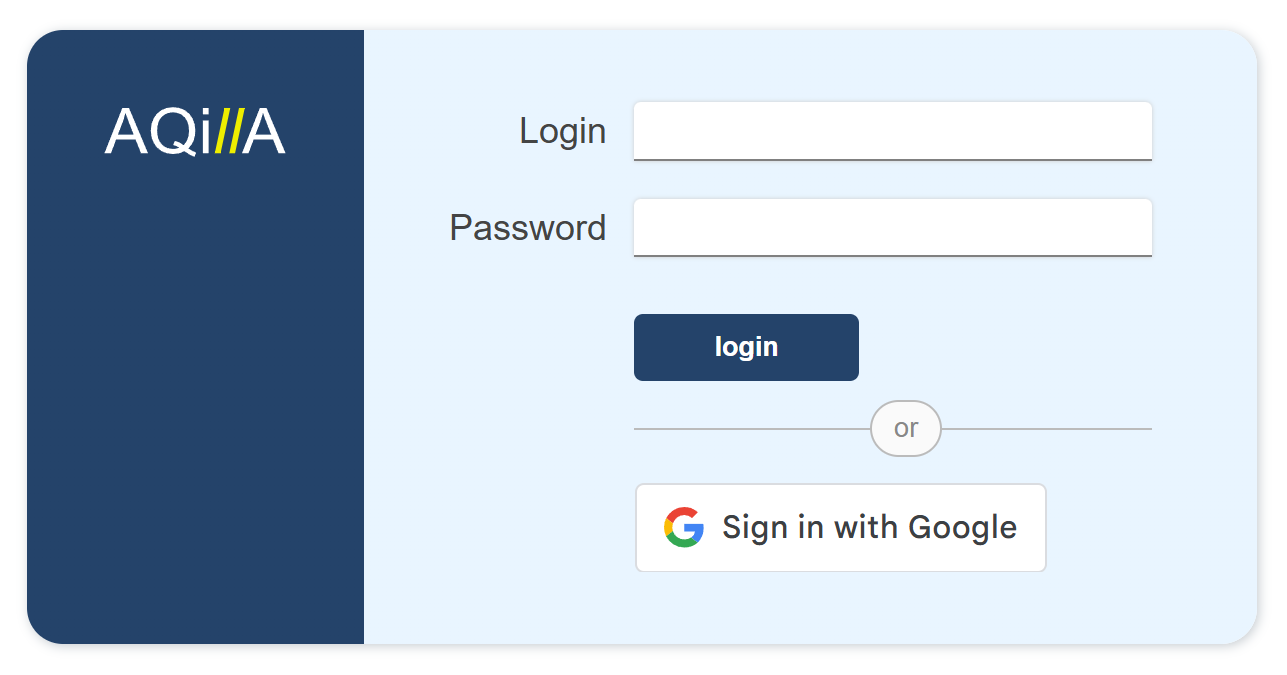
Aqilla Login with Google Sign In Option
Views
In Aqilla terminology, each page displayed by the application is called a view. The following view is a simple list of customers.
Any text shown in blue is a link to another Aqilla view. In the above example, clicking on the customer Capitella would take the user to the reference record for that customer.
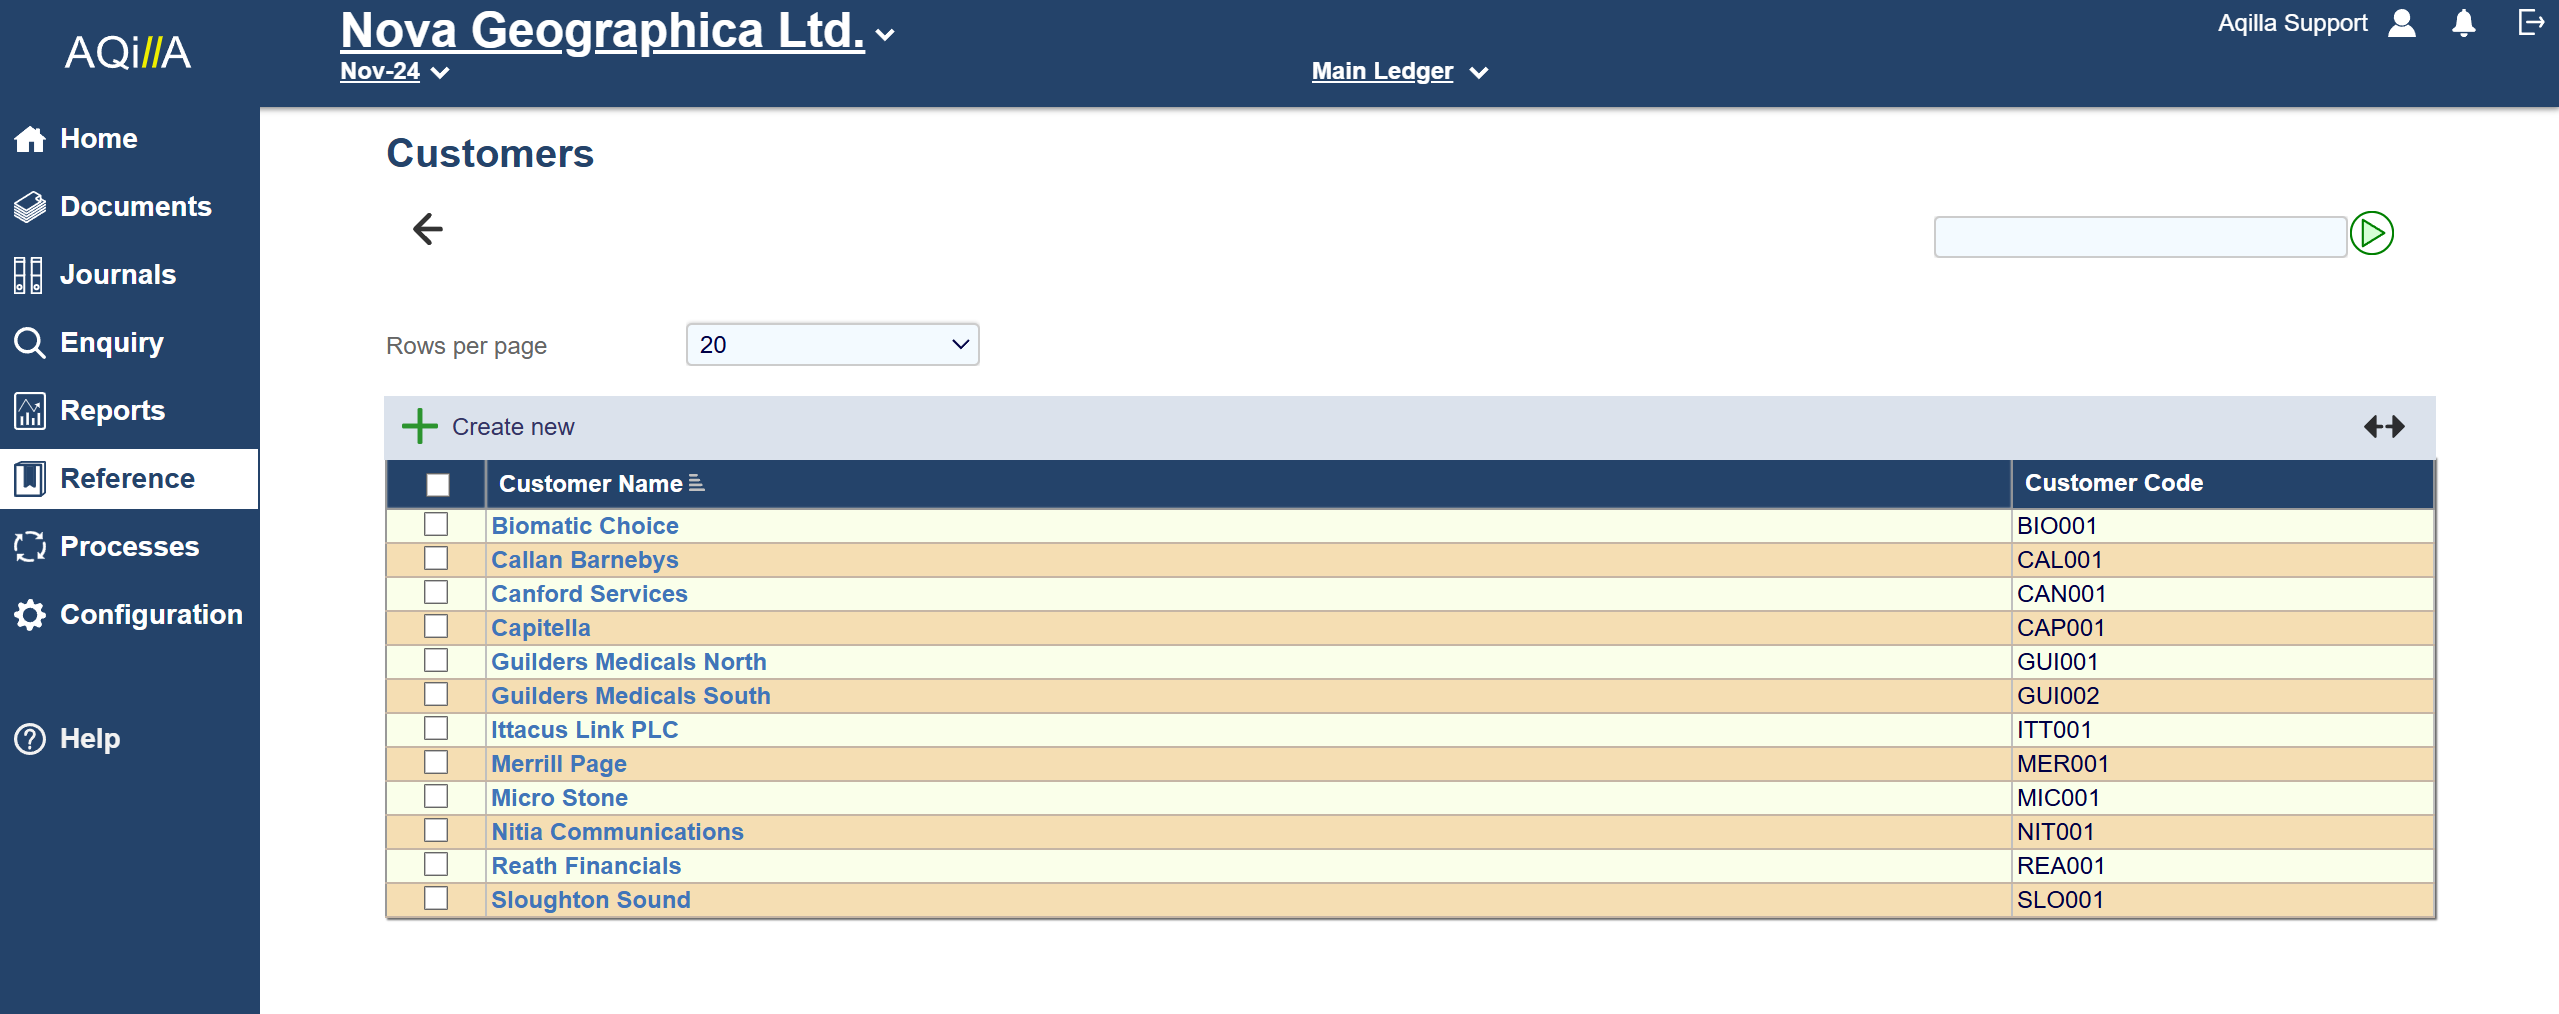
The top section of each view always contains:
Field | Description |
|---|---|
Aqilla Logo | If you hover your pointer over the logo you will see the Aqilla build date and version. |
Company Name | The company name at Configuration > Companies is displayed. If there is more than one company available to you in the instance you will be able to select another company. See Articles > Multi-Company Accounting. |
Ledger | The ledger dimension you are using is displayed and can be changed here. |
Logon Name | Clicking the dropdown offers an option to change your password and settings (see below) - or logout. |
Help | Launches this help in a new browser tab. |
Logout | Logs you out of Aqilla. |
Current Date | Displays the current date. |
Period | Displays (your) current period; you can select other periods available to you here |
Tabs | Displays the tabs you are allowed to see |
Many Aqilla summary (i.e. list) views can be sorted (ascending or descending) by clicking on the column header.
Tabs
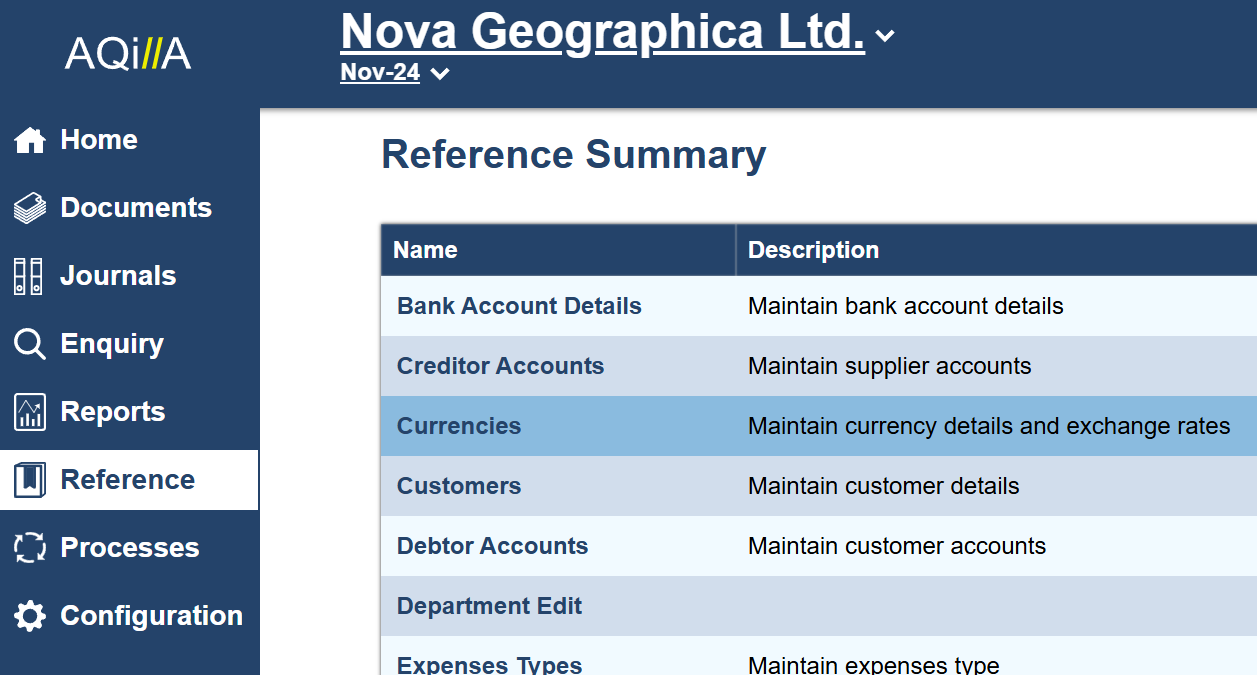
All Aqilla functions are logically grouped under a series of tabs which are displayed at the side of each page thus:
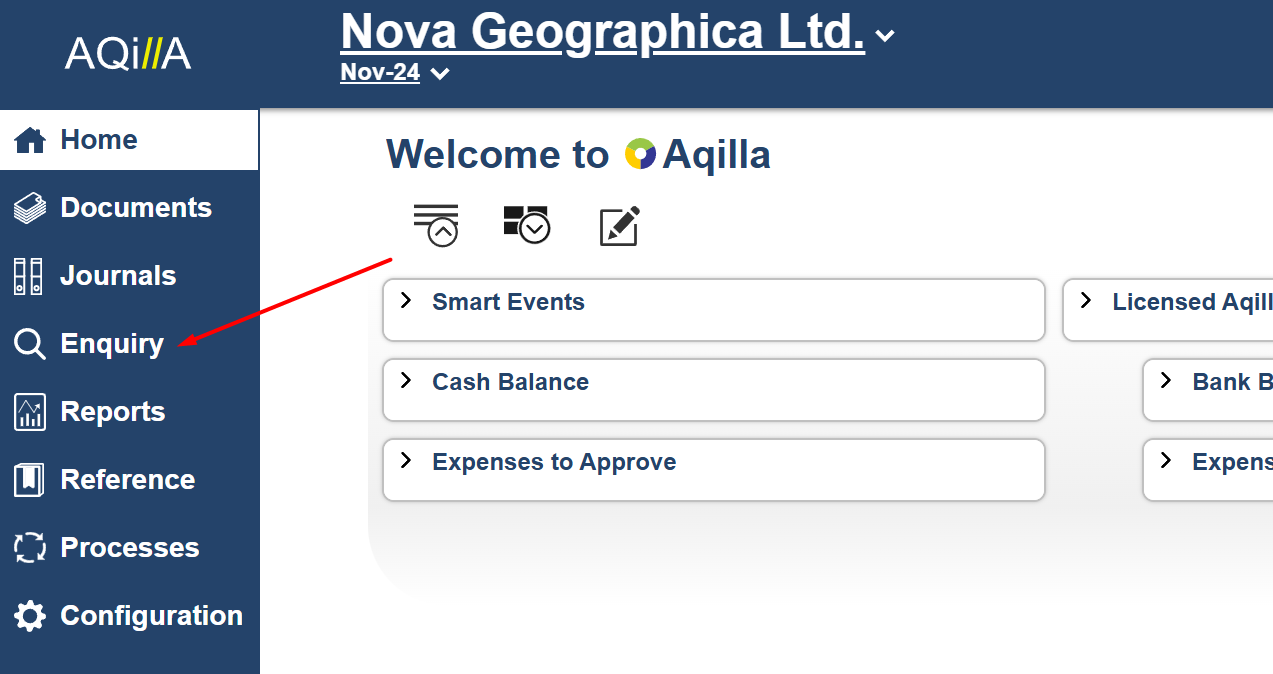
The selected tab is highlighted - in the example on the right, the Reference tab is highlighted - and the pages associated with the tab are listed.
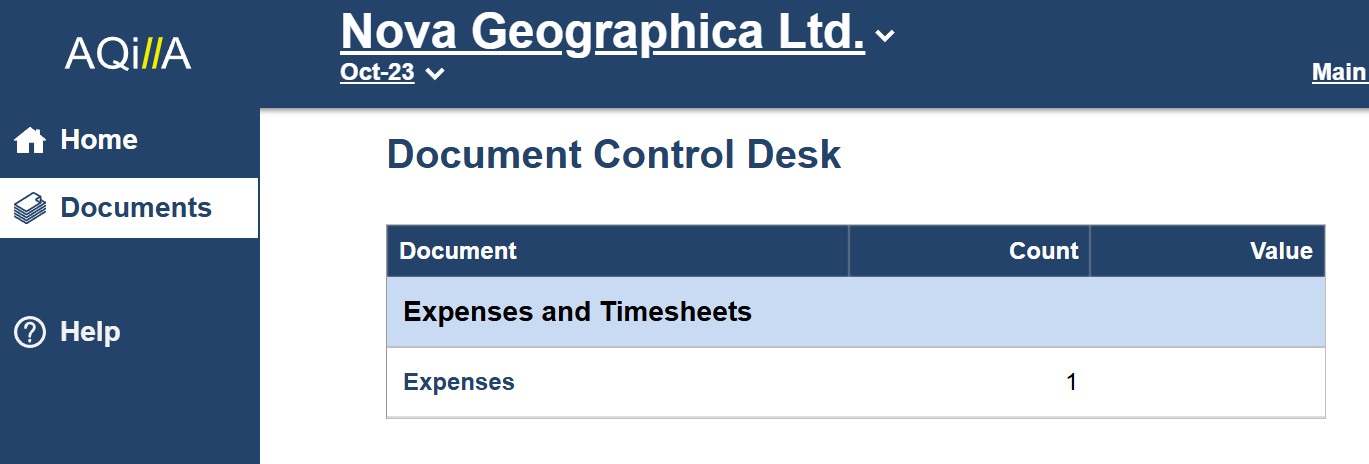
In practice, many users will not see all available tabs (or all available functions within each tab) because:
their user license type excludes access to the tab or
the administrator has limited access to the tab or to functions within it.
A typical example (user restricted to entering expenses and time-sheets; making enquiries and running reports) is shown on the right.
User Type
User Type
The tabs available to different types of user are shown below:
User Type | Home | Documents | Journals | Enquiries | Reports | Reference | Processes | Configuration |
Core | x | x |
| x | x |
|
|
|
Expense | x | x |
| |||||
Expense & Timesheet | x | x |
| |||||
Line of Business | x | x |
| x | x | x |
|
|
Pro | x | x | x | x | x | x | x | x |
Note that some users may have fewer tabs than they are licensed to use - an administrator may have restricted access to one or more tabs.
Bell Notifications
In the top right-hand corner, next to your username, a bell icon will show you notifications from Aqilla.
A yellow circle with a number in it will show the amount of notifications waiting to be read.

Clicking on the Bell will show a list of notifications.
You read and dismiss each notification, or use the top menu to Dismiss All, or Mark all as Read.
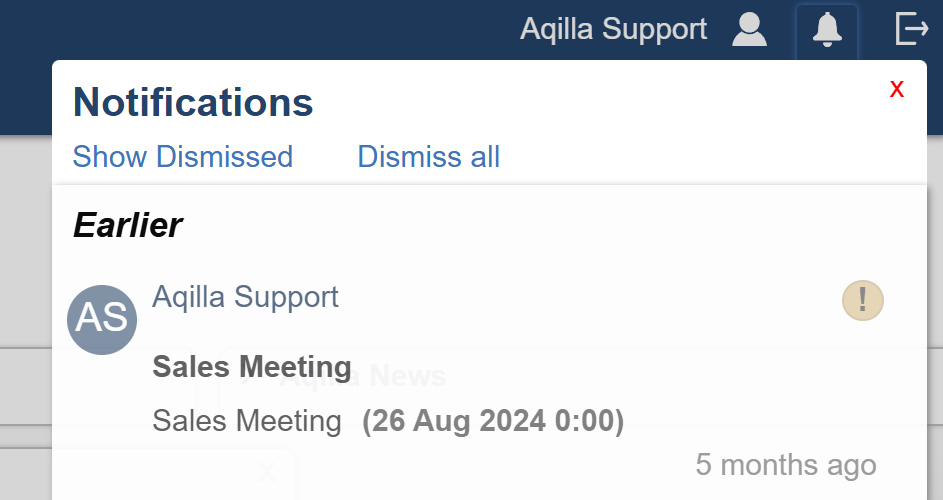
You can receive notifications from your Smart Events, or from other users, if you have been invited to their event.
Green, yellow and red colours depict the category of the notification.
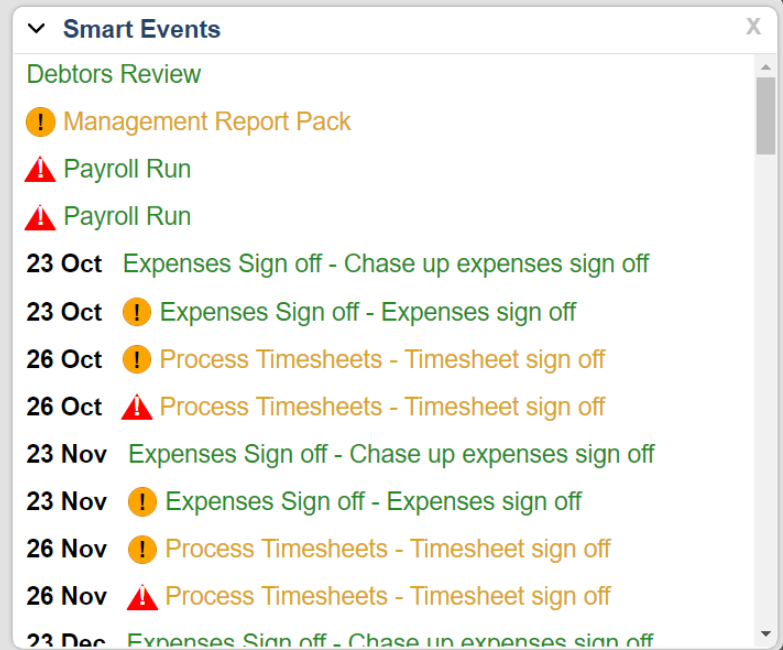
Smart Event Notifications
The Smart Events options have been expanded to include the new notification options.
The Smart Event header is similar to other calendar related notification configurations. You can give the notification a name and select options if you want the meeting to be a reoccurrence. The Event category selects the category Green to Red, and will show the selected colour in the notification.
Click on Create New Notification and fill out the Notification Text , any advance notice, the method you wish to be notified and the severity of the notification. (Normal, Important or critical)

Data Entry
Data can be entered into Aqilla using a number of data controls which are described below:
Input - You can enter a text string

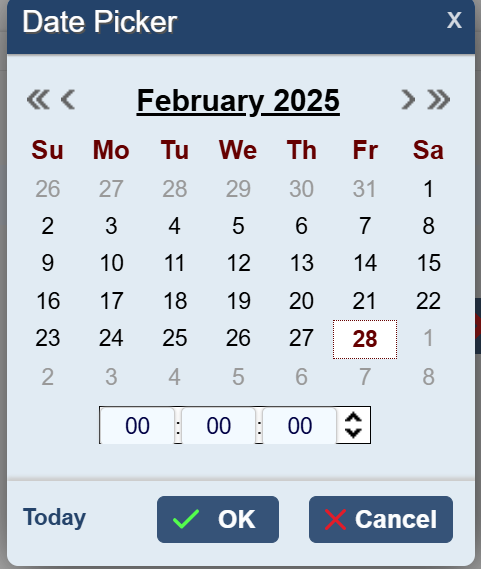
Date - You can enter a date by typing it, using a date picker or right-clicking an empty date field for today's date
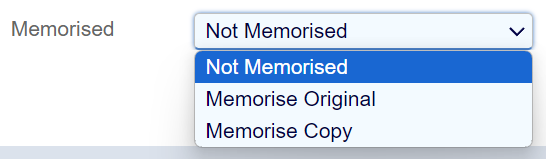
Combo - You can select an option from a dropdown list of options
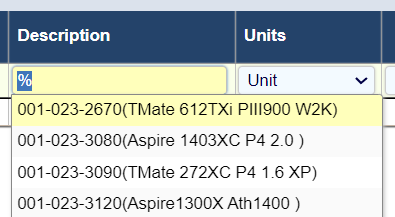
Smart Search - Relevant options are displayed as you type; wildcards are also supported - e.g. %ltd
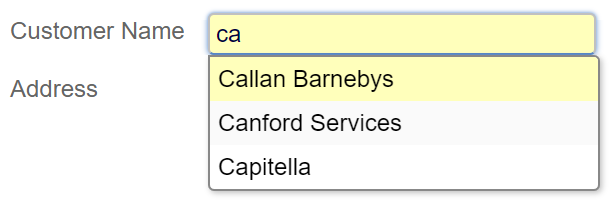
Assisted Input - Similar to Smart Search but allows data to be entered as well as looked up
Text Area - Allows unlimited free tex

Keyboard Shortcuts
The following keyboard shortcuts (specific to Aqilla) are available:
Ctrl + < | Use Control and Arrow key left to go back one step. |
Ctrl+ Ins | Insert new document, document line, reference record according to the context |
Ctrl+ Shift + Ins | Complete current line and insert a new line |
If your browser or operating system has been configured to use these shortcuts for other purposes, these will over-ride the above.
The following keyboard shortcuts are standard browser shortcuts that may enhance your experience of using Aqilla.
Ctrl+ | Zoom in |
Ctrl- | Zoom out |
F11 | Go full-screen presentation - or leave full-screen presentation |
Common Icons
The following icons are common across some (but not all) Aqilla views:
Icon | Description |
|---|---|
| Go back to the previous view. The back button in your browser can also be used. |
| Run |
| Create a new record - opens the create view for the record in question. |
| Delete selected record(s) - deletes the record(s) which have checked checkboxes - after confirmation and if allowed. |
| Copy selected record. |
| Open a window to enter free text notes - notes exist. |
| Open a window to view/edit free text notes - no notes exist. |
| Excel report |
| Excel report (expanded) |
| View source document. |
| Open all selected documents (PDF Reader Open with the option selected). |
| Save all selected documents in zip file (PDF Reader Save File option selected). |
| E-mail selected documents (if possible - e.g. recipient e-mail address exists). |


Notes
Many views - both documents and reference data - come pre-configured with a Notes attribute. Such an attribute can be easily added if not already available.
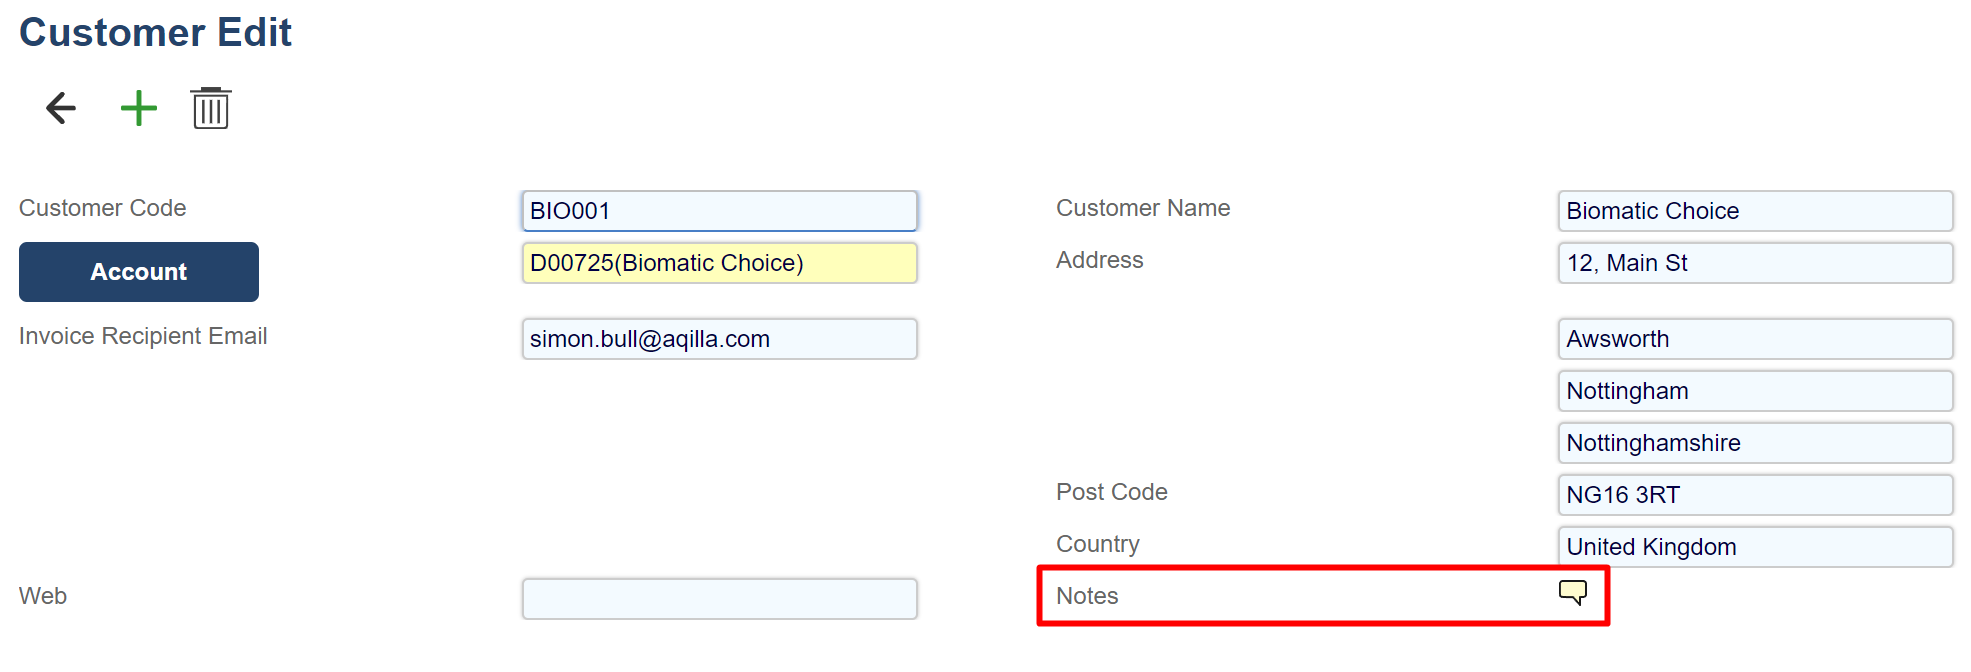
The notes icon will show if notes exist, thus:

Notes do not exist

Notes exist
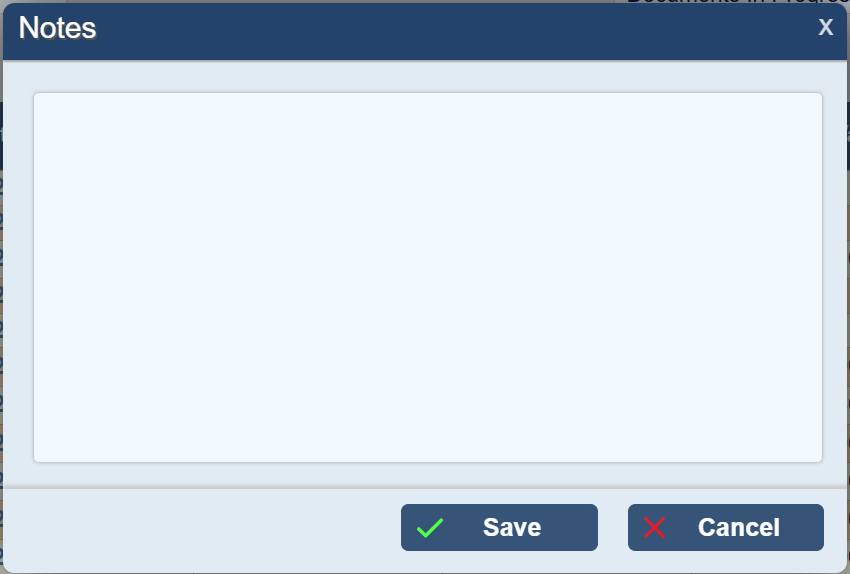
Clicking on either icon will open a new window into which an unlimited amount of free text may be entered:
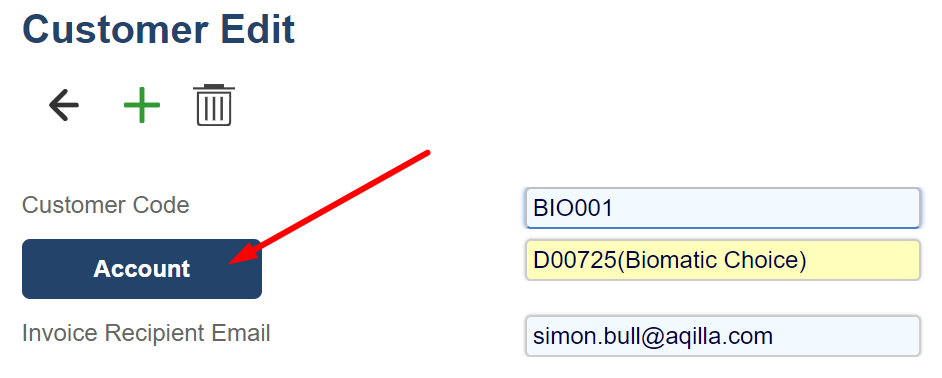
Account button:
This button takes you directly from the Customer/Supplier to the relevant Debtor/Creditor account.
The default settings in Aqilla prevent notes from being changed when a document is in a read-only state such as Posted. This behaviour can be changed through the use of an internal flag. Please contact us if you would like to be able to edit comments when a document is in a read-only state.
This may be of interest to users who wish to use notes to maintain an on-going, additive record of the document life-cycle after it has been posted to the ledger - e.g. recording notes against a sales invoice as part of a dunning process.
Attachments
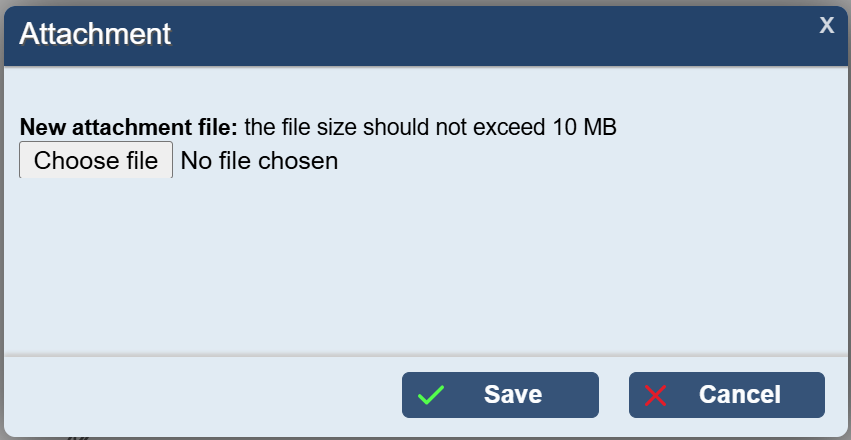
Some views - both documents and reference data - come pre-configured with an Attachments attribute. Such an attribute can be added (or renamed) on some views; in the following example, the attribute is called Scanned Original.
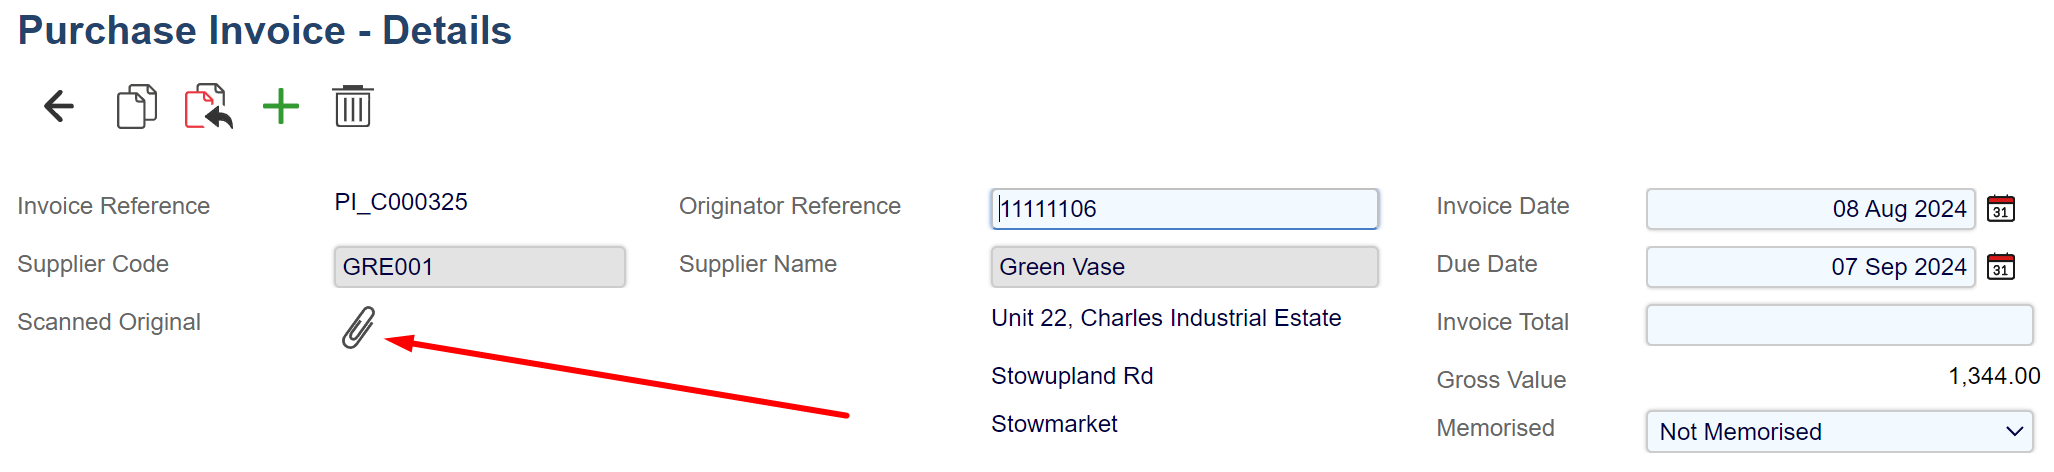
The attachments icon will show if attachments exist, thus:

Attachments do not exist

Attachments exist
Clicking on either icon will open a new window which allows you to navigate to a file to attach a file - or remove an attached file:
The default settings in Aqilla prevent attachments from being added or removed when a document is in a read-only state such as Posted. This behavior can be changed through the use of an internal flag. Please contact us if you would like to be able to add or remove attachments when a document is in a read-only state.
Note that Aqilla can be configured to store a link to an external document management system instead of storing the document itself.
Smart Dates
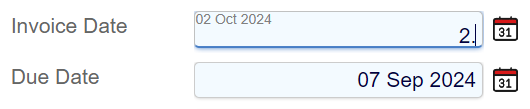
Instead of typing the full date (e.g. 02/06/2019), you can now use a smart date in all Aqilla date fields. As shown below simply write (say) 2/6 and the system will automatically complete the date.
Please note the date preview in the top left-hand corner. There are many different ways of entering a date - see below
The easiest way to auto-complete is to press the TAB key after writing the syntax below. The Smart Date function adds a multitude of syntaxes to writing or calculating a date.
Syntax: today + Press TAB = 12/07/2019
Please note, this does not work with the US date format - (i.e. 02-17-2019 instead of 17-02-2019)
Syntax Examples:
A number greater than the last day of the month eg. "35" will be interpreted as +35 days from today's date
Two numbers, separated by almost anything other than white space: "1.2", "01-2", "1/02" completes with current year: 01 Feb 2019 (does respect US locale: 02 Jan 2019)
Three numbers separated by almost anything complete the year from right to left:
"2/3/1" completes to 02 Mar 2011
"2/3/23" completes to 02 Mar 2023
Syntax: "+1d" = today's date plus 1 day
Syntax: "+1w" = today's date + 7 days" = 19/07/2019