Workflow Groups are an integral part of Aqilla. The groups shows the various document states, (or checkpoints) and cover all available documents.
The Workflow Groups User Interface allows you to assign permissions to view and modify documents, along with promoting them to the next state.
A user can be part of multiple Workflow Groups.
For example: The user can enter Sales Documents in one Workflow Group and be an Approver for Purchase invoices in another.
Workflows mainly affect Document Headers, and can be customised after your requirements.
Timesheets and Expenses can also have a workflow assigned to the document lines.
These are the available standard document states.
-
Entered > [Editable]
-
Released > (Read only)
-
Approved/Rejected > (Read only)
-
Re-release > Rejected documents will return to a released state and await approval
-
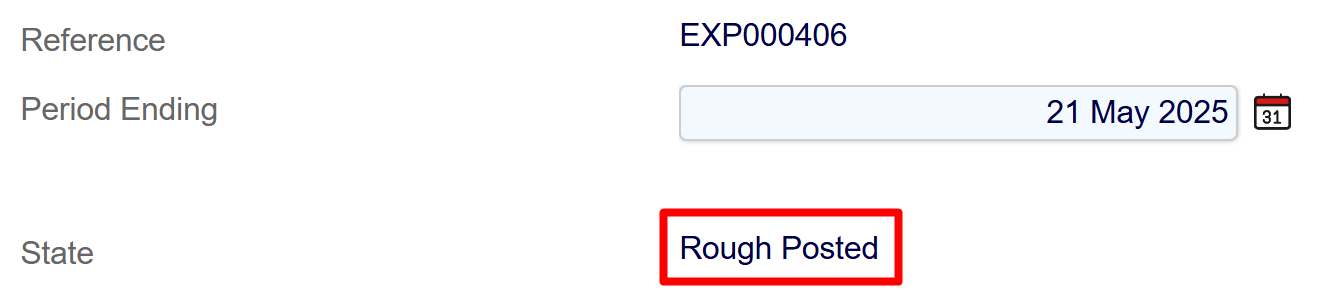
Rough-posted > [Editable]
-
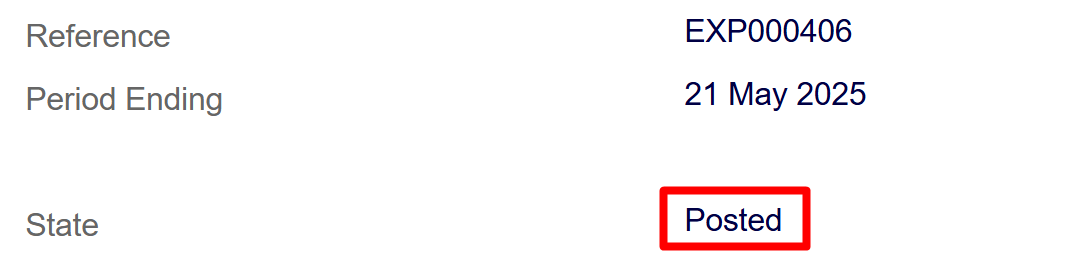
Posted (Read only)
The user can promote a document to the next state, these permissions are referred to as Transitions.
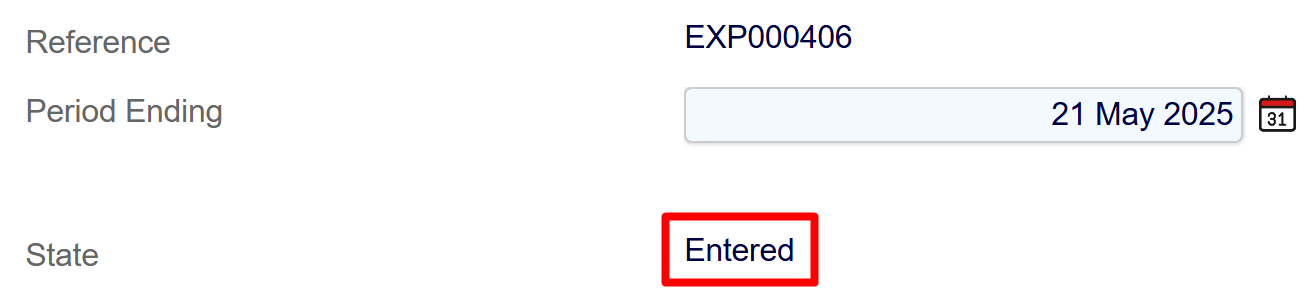
All documents starts in an Entered state. This is the basic version of the document where the user can enter, edit or delete the document.
Depending on the type of document, the user can then promote the document to a Released state for Approval or post/rough-post them.
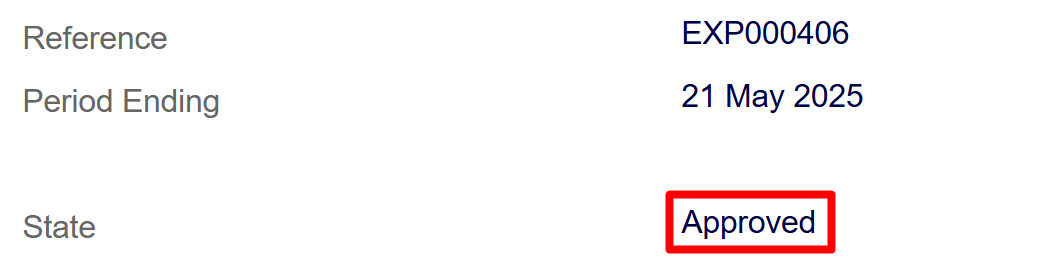
A purchase Invoice/Order or an Expense will typically use an approval workflow. Entered > Released > Approved > Posted
A Sales Invoice will typical go from Entered > Rough-Posted/Posted since no approval is required for making a sale.
The workflow groups are named by the user and when opened up presents a list of available workflows.
The workflows are then divided into rows with the available document states.
Each row is a Document State, and is a hierarchy that can only move forward. The document states are as follows.
-
Entered > [Editable]
-
Released > (Read only)
-
Approved/Rejected > (Read only)
-
Re-release > Rejected documents will return to a released state and await approval
-
Rough-posted > [Editable]
-
Posted (Read only)
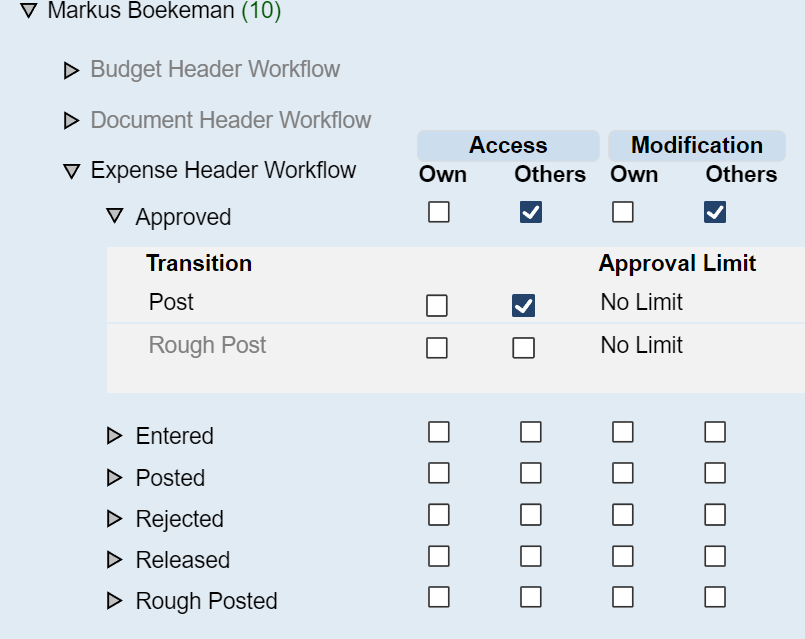
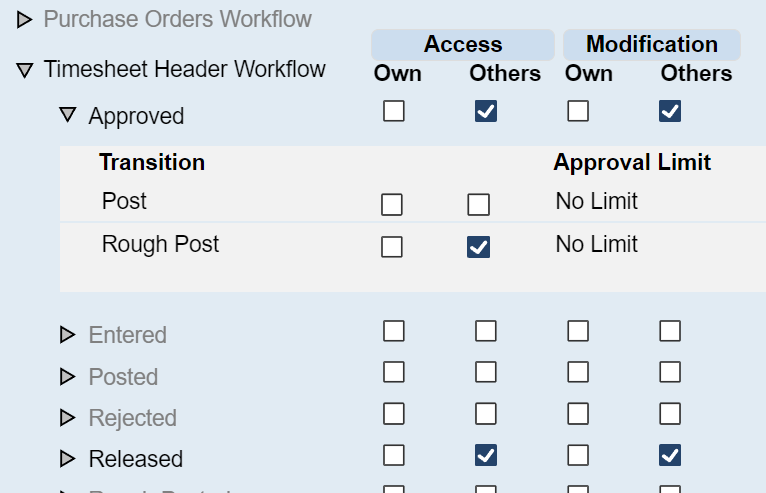
The workflows are further divided into two column sections. Access and Modification
These are the View and Edit permissions.

Access covers two columns
Own and Others
Ticking a box in Own under Access will grant viewing rights to a document in the selected state.
Ticking a box in Others under Access will grant viewing right to the other user in the same workflow group, excluding the users own documents.
Modification covers two columns with similar properties as Access.

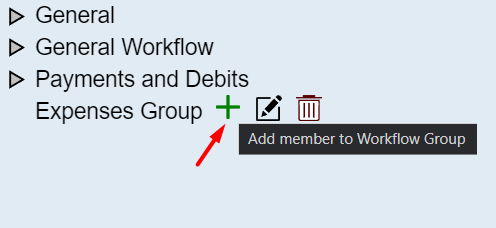
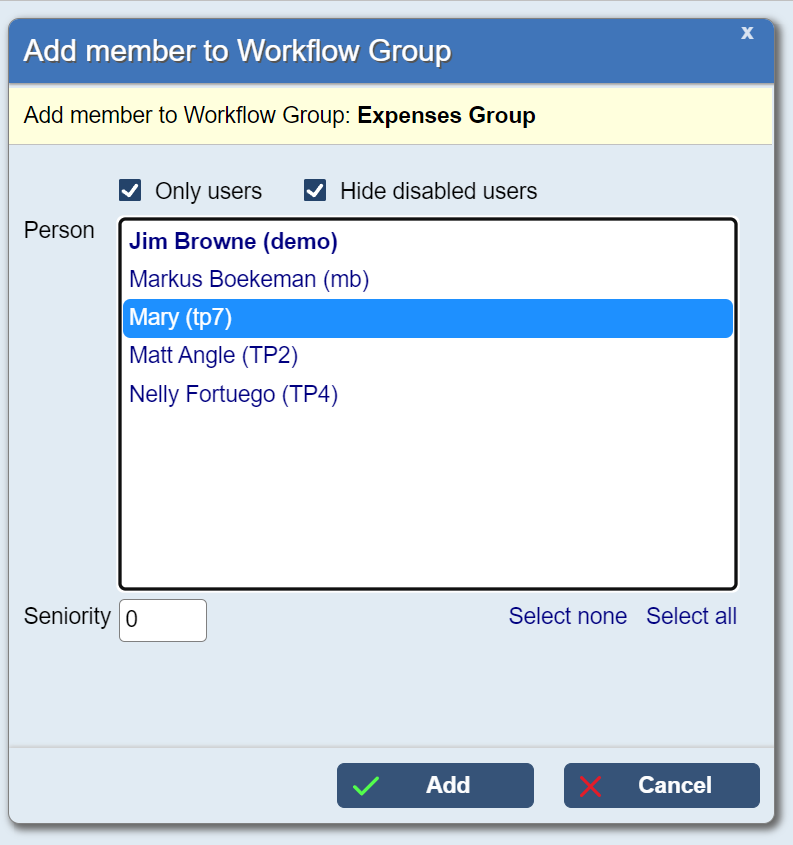
Click on Add Member to Workflow Group
We will add two users.
The Approver and the Expense user, and then copy the expense users permissions to other users in the group.
Adding John Noble and giving him seniority 5, just to ID him as the approver.
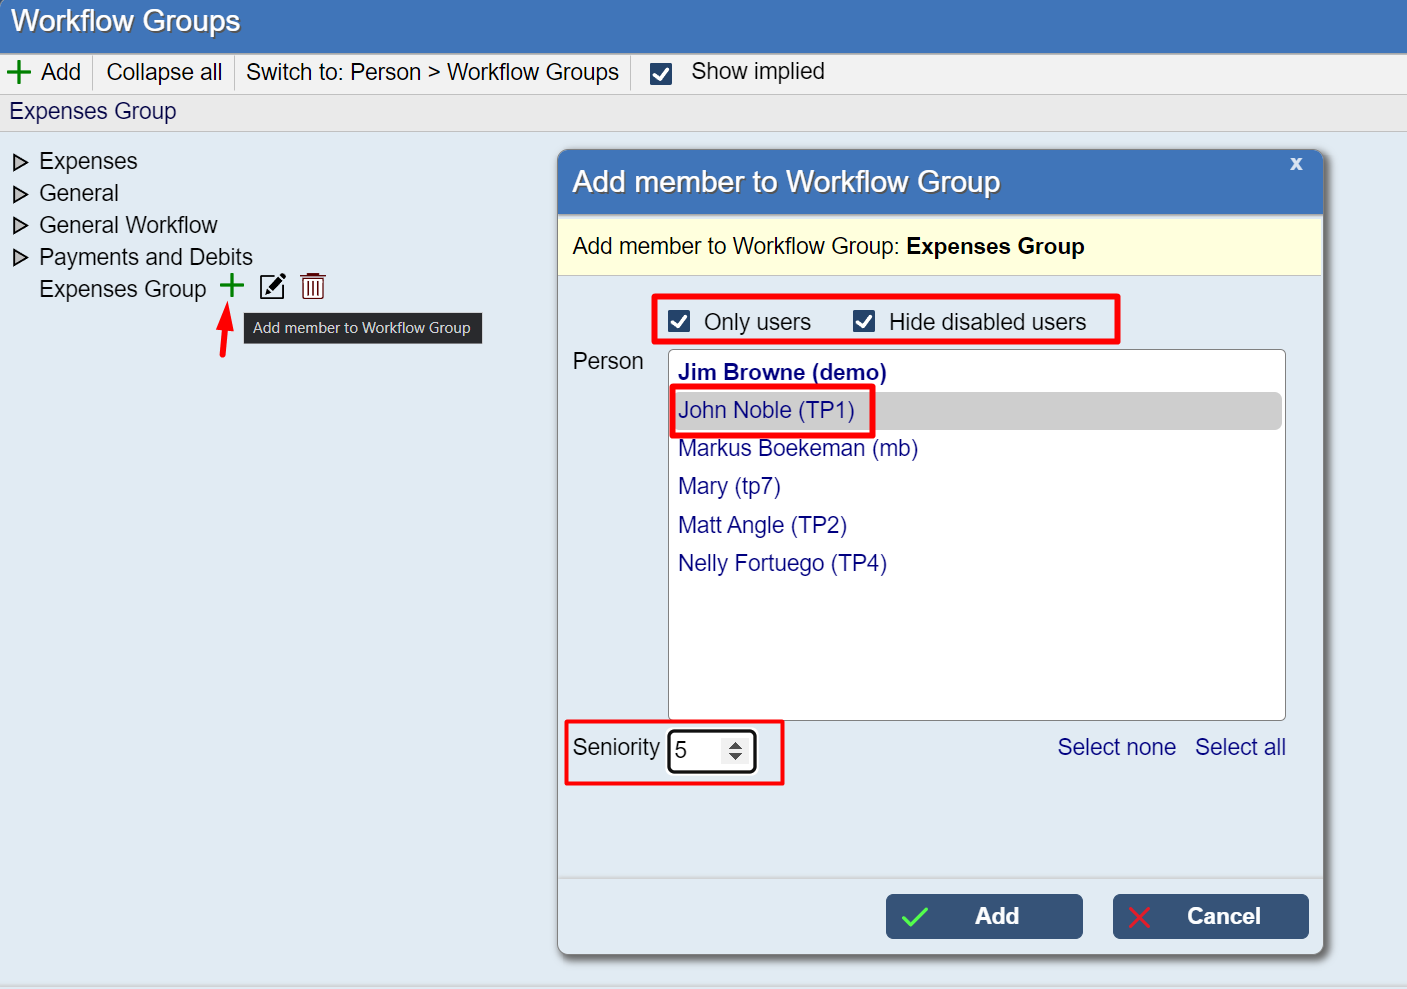
You can limit the users by clicking on +Only Users +Hide Disabled Users
Adding the Expense user.
We are only adding a single expense user at the beginning because we can copy over the permissions once Mary has been set up.
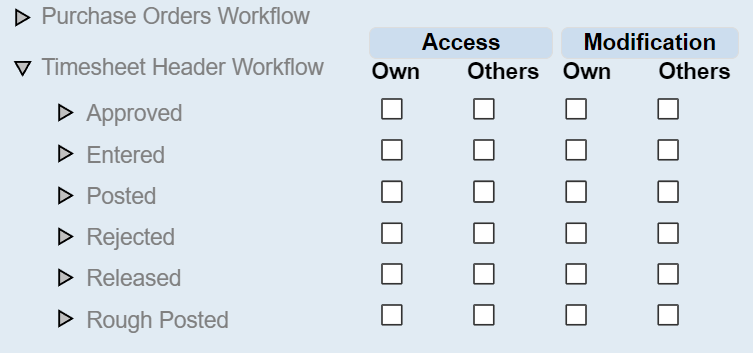
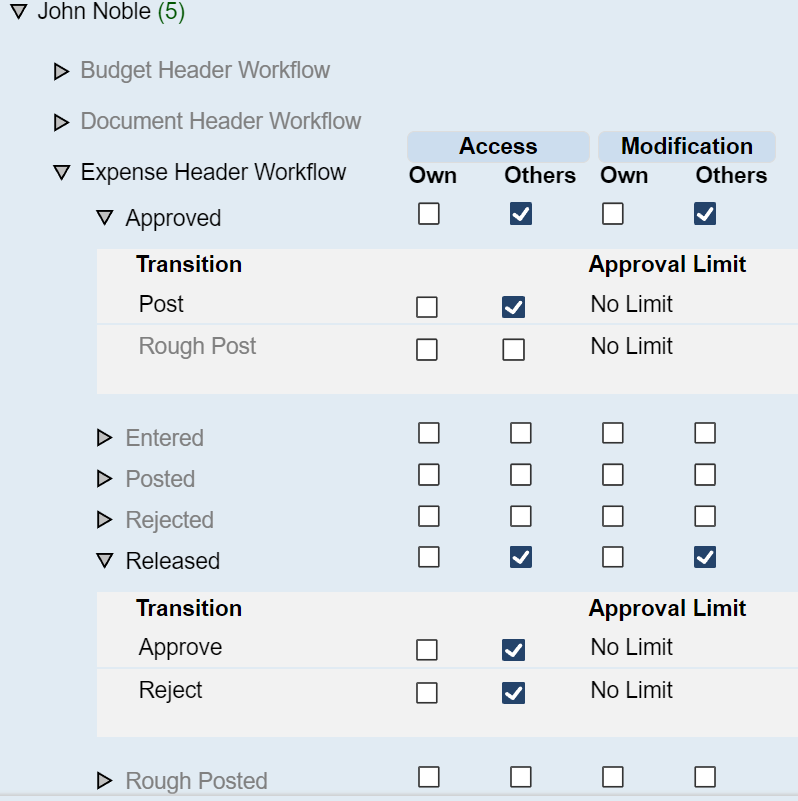
Approver Permissions
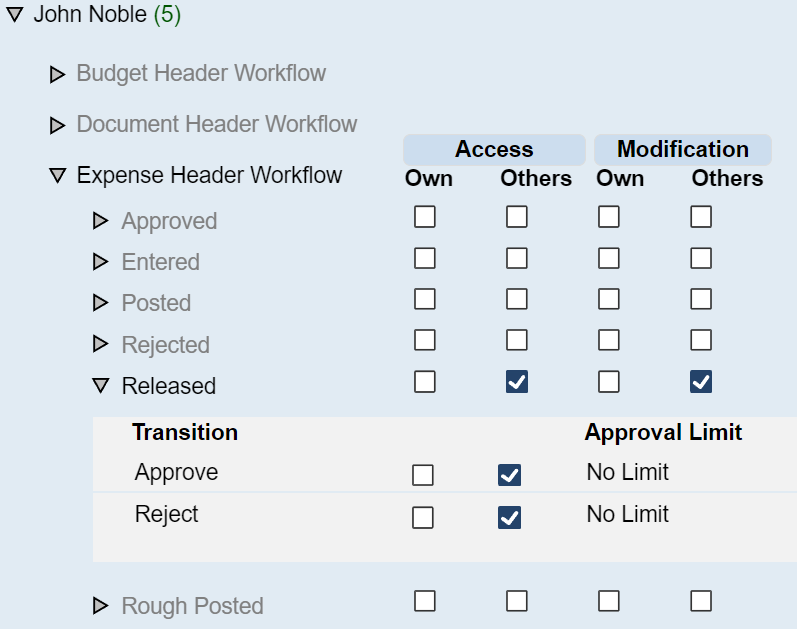
To apply permissions to John, we click on his name, and open up the Timesheet Header Workflow for expenses.
In order for John to be an approver, he needs Others - Access and Modifications for the Released State.
We want John to see expenses after they have been entered and then released by the expense user. That is why he is only getting permissions in the Others column.
We want to avoid giving John permission to approve his own expenses.
The Approver also needs the transition permission to Approve/Reject
John only gets the option to approve expenses for users he shares the workflow group with.
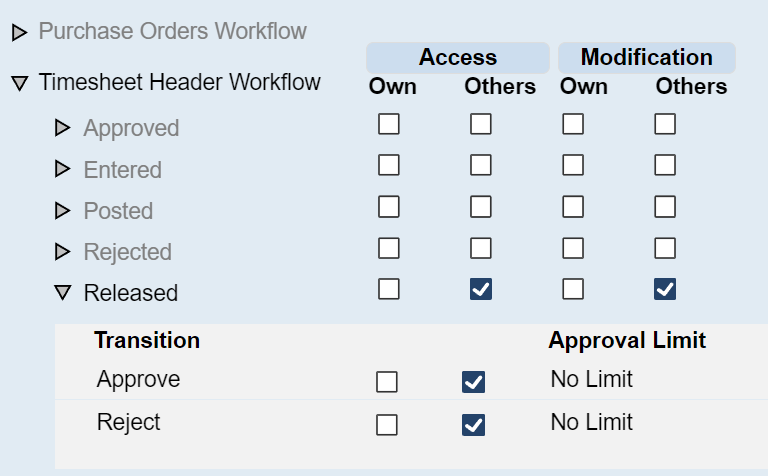
If John also needs to post/rough-post the approved expenses.
We tick the Approved state for Others under Access And Modification And Transition Post/Rough-Post.
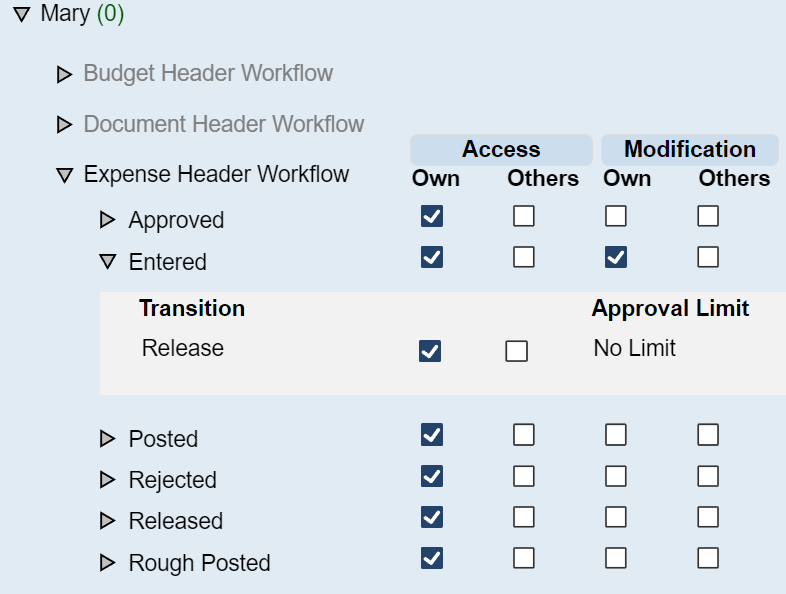
Expense User Permissions
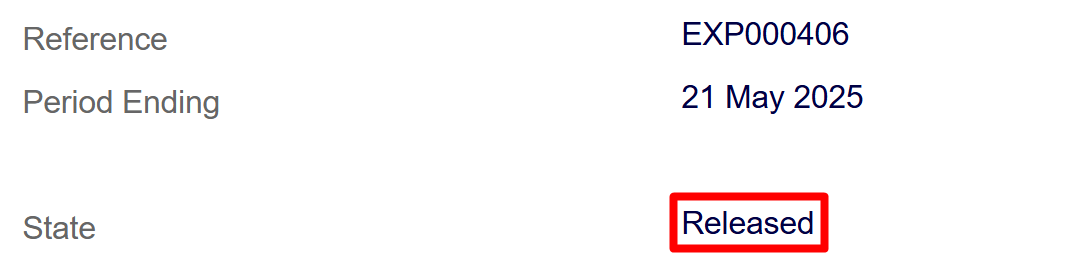
Mary needs to be able to Enter and release an expense,
Click Entered for column Own under Access and Modification
And grant the Transition Release
The expense user needs both Access and Modification in order to create an expense document, and they need to be able to Release it.
Rejected Expenses should also have modify in order for Mary to make changes.
Mary also can also grant them access to only VIEW, their documents, after it's been approved.
No more ticks under Modification, as this would allow the expense user to potentially edit their document.
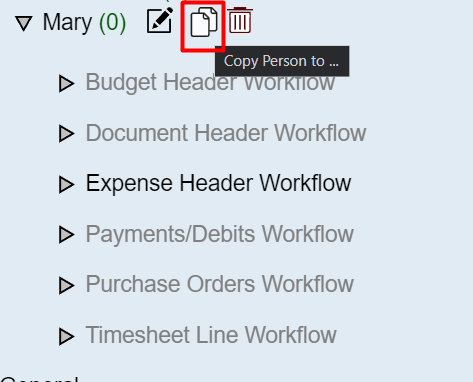
We will use Mary's permissions as a template for the other expense users by copying her permissions using this button.
Click on the Copy Button.
Selecting the Users to Copy
You can narrow down the available names by clicking on Only users and Hide Disabled Users.
+Only Users
+Hide Disabled Users
Select the usernames you wish to copy and click on Copy
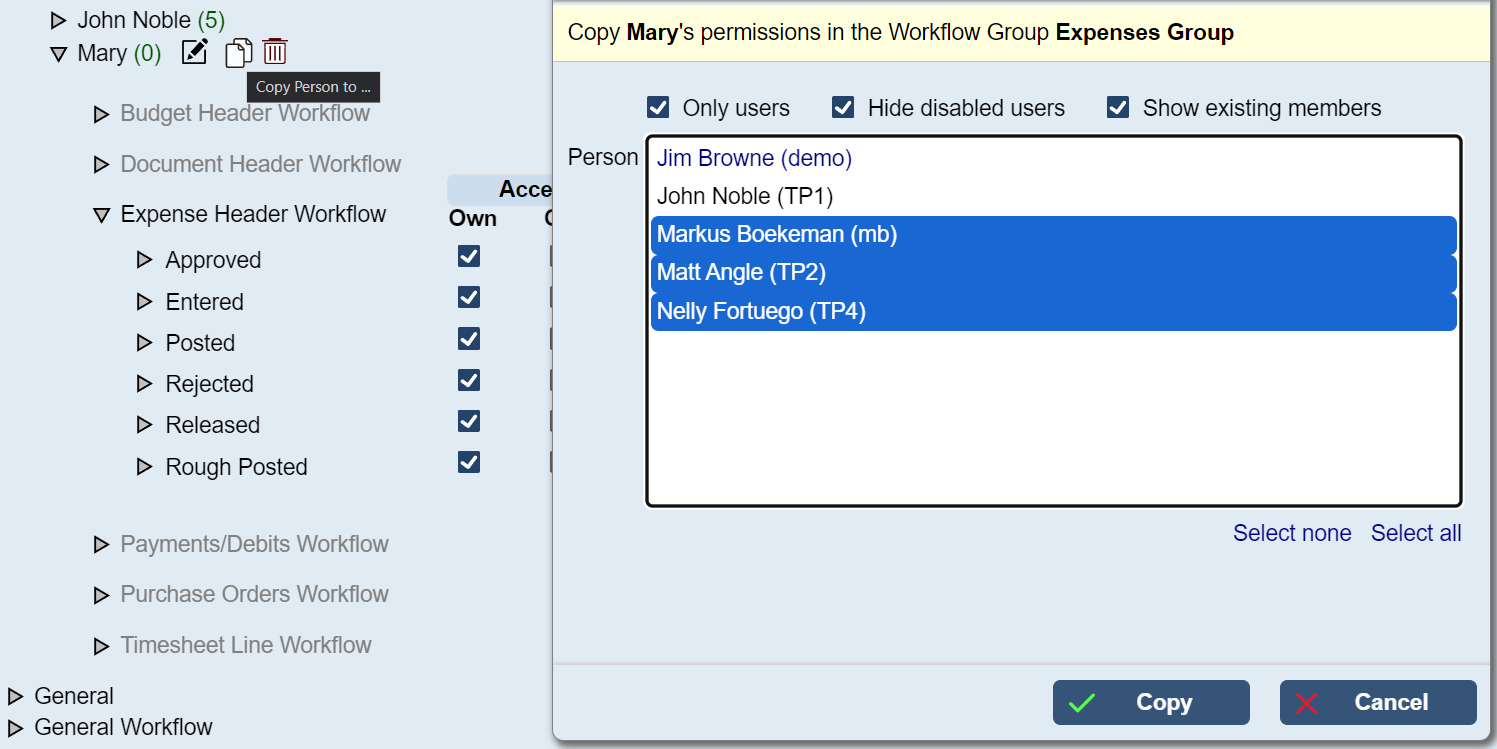
You have now copied Mary's permissions to the selected users and completed the Workflow Group set up.
1 and 2 tier Approval Workflow
This section outlines two versions of the approval system.
The one tier approval, where the expense user enters and releases the document, and the approver either approvers or rejects the expense, but also posts it.
The two tier approval method, the expense user enters and releases the document, the approved document is then either approved and rejected, and a second approver picks up the approved document and posts it.
1 Tier Approval System.
-
Expense User
-
Enter an expense
-
> Release
-
-
-
Approver
-
See Released Expense
-
> Approved
-
>Posted
-
-
-
2 Tier Approval System
-
Expense User
-
Enter an expense
-
> Release
-
-
1st Manager / Approver
-
Released Expense
-
> Approved
-
-
-
2nd Manager / Approver
-
Approved Document (Waiting on being posted)
-
>Posted
-
-
First Manager
Second Manager